Posted in Google Forms, Seesaw, Teacher Workflow

Google Forms, YouTube and Seesaw app-smashing for the win!

I was working on a project with one of the Title teachers in my district and she was talking about how she often needs to build background knowledge with her students, However, since she sees the kids for such limited time each day, she needed a solution where they could gain this knowledge in an engaging way that was easily managed but not completely teacher directed.

Mrs. D. wanted her students to watch short videos about the topics they were going to cover in class, but she was worried that the students wouldn’t really attend to the videos and would quickly forget whatever information was presented. She felt that having the students answer a few short questions after watching the video would help them engage with the content. And, if the students could rewatch the video as they figured out the answers to the questions, it would take the stress of having to memorize the correct answer out of the mix. By doing a little app-smashing, I think we came up with the perfect solution! 

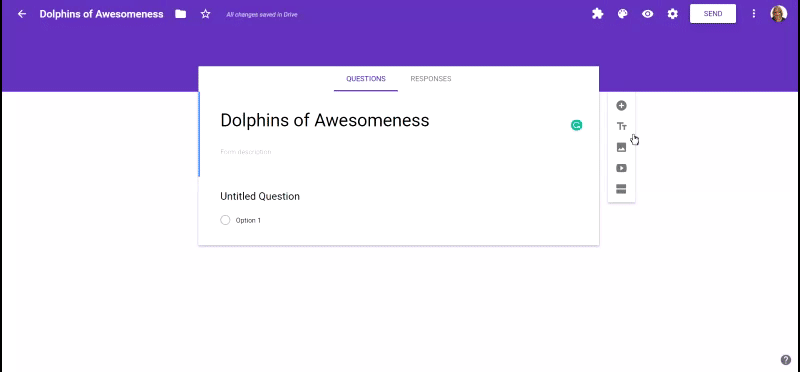
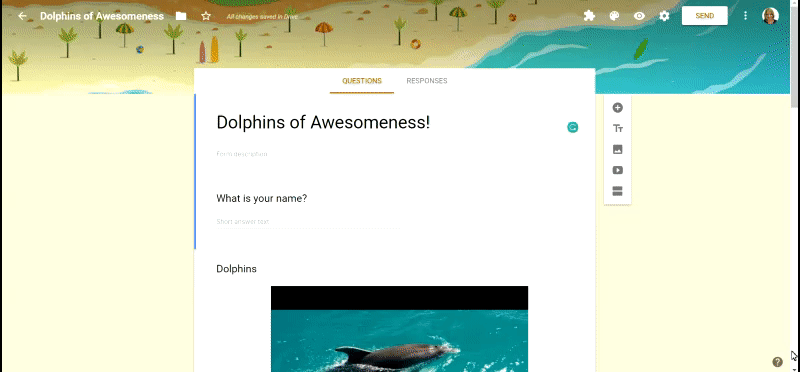
We searched YouTube for a short video that gave an easy to understand overview of the topic at hand. For this lesson, she was focusing on dolphins. Once we found the video we grabbed the share URL from Youtube and then added it to our blank Google Form using the insert video option.

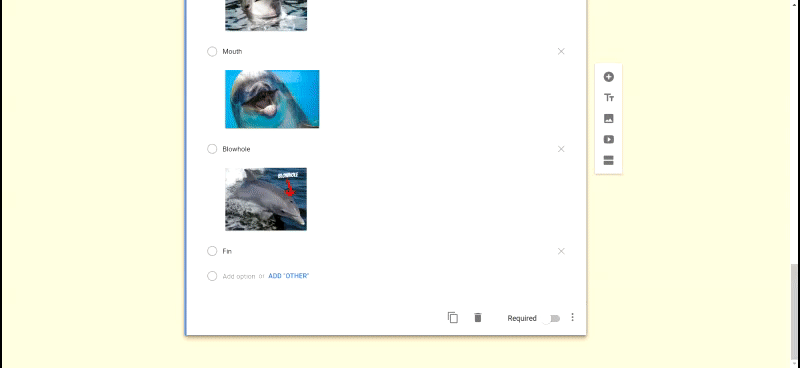
We also created a few short questions that her students could answer after viewing the video. Because these students struggle with reading, we made sure that the questions were easy to read and followed the flow of the video. Forms not only allows you to add video, but you can also add images. So for one of the questions, we made sure that the students had images to work with as well as words. Adding images is relatively easy since you have so many different options for images in Forms:Insert Images

I often like to have my images already saved in my Google Drive.


We spent a little time making the Form pretty, but within 5-10 minutes, we were ready to go!

We now had to decide the best way to share this content with the students. Since this teacher is already an avid Seesaw user, we decided that sharing it as a journal item would be the easiest way for the students to interact with the content. To do this, we needed to grab the “send” link from the Form. She didn’t necessarily want to force the students to have to login to Google if they were viewing this activity at home, so we had to make sure that we changed the Form settings to allow responses from users outside of our district domain.

Once we had the link, all we need to do was to post it in Seesaw to the student journal. When you go to add the link, Seesaw will ask if you meant to add it as a file from your Google Drive. You DO NOT want to add it as a file! Simply paste in the link and click the “Continue” option. After you complete this step, you will have the opportunity to share the Form with your entire Seesaw class, or you can individually assign to specific students.

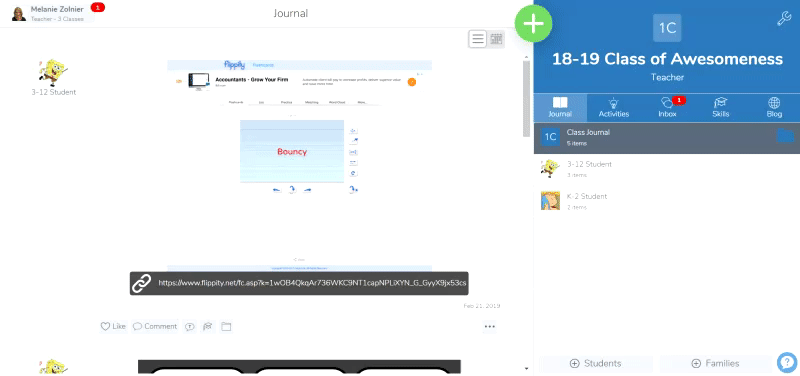
Don’t be alarmed by the ugly “this format” blah, blah, blah! As soon as your students click on the link, it will bounce them directly to your Form where they can watch the video and interact with the content.

Ignore this warning. It is just full of empty threats.

Your students will now be able to watch the video and respond to your questions by accessing it through Seesaw. Students get some background knowledge, they can watch the video as many times as they need to understand the content, the teacher is freed up to work with another student while the video is being watched, and everybody wins!

This can be used for a variety of purposes beyond just building background knowledge. Video is a powerful tool! You could do something similar for:

  • Math Review
  • New skill introduction
  • Making connections with historical content or literature
  • Lab directions/experiments

You aren’t limited to Seesaw. Your delivery method could be Google Classroom, Padlet, Nearpod or any other student content management system.

Tell me how you would use this in your own classroom?


Posted in Cool Tools, Google Forms, Google Workspace for Education

Use the Magic of Google Forms to Differentiate Instruction and Assessment!

We have all probably experienced Google Forms in their most common, er, form. District admins love to use them for PD planning or information gathering. Teachers love to use them as quizzes, quick exit tickets, surveys or ways to get contact information from parents. Typically, the Forms you have interacted with before have been designed in a linear fashion where the user starts with the first question and works their way through until all questions have been answered and the submit button is the final option. Easy peasy, lemon squeezy.

But, what if I told you that every student does not have to answer every question you have in a Form? Would your mind be blown if I told you that you could customize your Form to guide students through an activity that levels itself for their specific skill level? Would you kick your heels in glee if I told you that you can create a Form that allows students to review important concepts if they get a question wrong? Or a Form that allows students to engage in challenge or enrichment activities while freeing you up to work with students that need more assistance? All of these things are possible with the magic of Google Forms. Read on to discover how you can use the magic of sections to create Forms of Awesomeness!

Case Study for Forms of Awesomeness:

The students have learned a new math skill and I want to be sure that they have ample opportunities to master the skill or try out the skill in new situations. To do this, I create a Form where the first question asks the students to reflect on their comfort level with the unit we just finished.

Question on Google Form that shows four levels of comfort with unit material

Based on how they answer the first question, they will be directed to a specific section of my Form.

Section View

Within each section, I build activities that have the students complete leveled practice or enrichment activities. Within these sections, the students will find videos, tutorials or other resources that will help them as they work through questions that, based on how they answer, will allow the student to move forward or repeat the learning activity until they are able to get the question right.


This slideshow requires JavaScript.

While students are working independently, I can pull individuals or small groups of students that have either indicated they need help or are not making any progress on their section of the Form. If students have overestimated or underestimated their skill level, they can always start over by going back to the Form and selecting a different response to the first question. As they work, the Form is collecting data to show their progress and instead of standing in the front of the room, I now have the freedom to meet the students where they are as they work independently.

If my Google Fu is strong and I am so inclined, I can even set the sections to loop the student to the other sections I have created. If they cruise through one of the easier sections, I can have the student advance to a more complex section with a simple click of a button. Or, if they continue to get answers wrong, I can set the Form to have them wind up in the guided practice section. Sections allow for so many possibilities!

Building Your Magical Form of Awesomeness

To create a nonlinear Form, you will need to use the “Sections” feature. This feature is located on the quick menu the scrolls along the right side of the screen as you are building your Form. shows a Google Form with the section icon highlighted

Sections are essentially self-contained content and question sets. When I am creating a multi-section Form, I like to build each section as if it were going to be given to the students by itself. I find it easiest to build each of my sections first and then set up the navigation later once I have created the content I want my students to interact with. Here is a quick video that gives a basic overview of how working with sections in Forms works.

I used a math lesson and a funny little cheese activity for my Forms, but really, there are so many ways that you can use these with your students. Science lab activities, social studies lessons about government types, choose your own adventure style writing and reading activities. Can you think of ways that you would like to use the magic of Forms in your classroom?