Posted in Blended Learning, Cool Tools

Formative = EdTech Tool of Awesomeness

As educators, we know (hopefully we know, please say that we know) that we should be using formative assessments to drive the learning in our classes. Formative assessments are assessments for learning, providing the teacher with important information on how to adjust the learning experiences in the classroom in order to meet the learners where they are. When formative assessments are used on a regular basis the teacher discovers where they should provide instruction and/or alternative pathways to ensure that students are mastering the learning targets and objectives throughout the course of study. This is in direct contrast to waiting until the end of a unit and summatively assessing students only to realize that they were not truly learning or applying content. When formative assessments are given, you know right away if a student has not gained mastery of the skill and can then provide additional or alternative opportunities to learn. Using formative assessments to create a responsive teaching and learning environment is something that every teacher should strive to do. Some popular ways to formatively assess include exit slips, self-reflection opportunities, use of Google Forms, Kahoots, Quizizz or other game platforms. The problem with these formative types are that you still have to wait until the student turns in their work to see where they are in their understanding of the concept. (Click here for more on formative assessments).

Wouldn’t it be great if you had a way to see how students were performing on a learning task as they were working? Guess what?!?! When you use an amazing tool called Formative, you can!

Formative is an online program that bills itself as a classroom response builder designed to track and accelerate student growth. Using a host of Formative tools, teachers can create media-rich assignments or assessments that allow students to respond through traditional means like multiple choice, short/long answer and true/false, or by showing what they know using drawing and creation tools. What sets Formative apart from many of its counterparts is that the teacher can see what the students are doing in real time and can give immediate feedback digitally through Formative or in person as the student is working in the classroom. You no longer have to wait until the lesson or skill practice has ended to give your students valuable and meaningful feedback. As students interact with the content, you can immediately see where struggles and successes are happening and create new and responsive learning opportunities for them. Here is a brief video that gives a nice overview of Formative in action.

Formative is free for teachers and students to use. A free account with Formative is pretty robust and offers question and content creation tools that make any edtech fan giggle with delight. A Formative can include images, videos, text, diagrams, and even allows for a direct embed from other third-party tech tools like Flipgrid, Padlet and Edpuzzle. There is a feature that allows the creator to upload a PDF or Doc and have the students write right on it. (This is limited to 20 pages per month on the free account.) Sharing a Formative is a cinch with the Google Classroom integration, and the student response view is a thing of beauty!

The whole reason to use Formative is because of how you can interact with students as they are working, but the build tools are easy to use and extremely accessible to teachers. When creating a Formative, a teacher can choose to make an assignment, benchmark, classwork, do now/warm-up or exit slip. Question options for the free account include multiple choice, multiple selection, short answer, essay, true or false, and my favorite, show your work. When creating the Formative, the teacher has the ability to indicate correct answers and assign point values if the activity is being completed for a grade. Watch this short video to see the different question and response types.

Giving immediate feedback to students through the dashboard is an easy task. Once the assignment has gone live, you can see and interact with student work. If you see a student making an error or struggling with a task, you can immediately intervene and provide feedback digitally or pull the student and work with them one-on-one before they even have a chance to leave your classroom.

live-responses-grade

Any feedback that you give to the student shows up immediately on their screen! Instead of finding your carefully created feedback tossed carelessly in the garbage (or left on the floor), you know that students will see your amazing words of wisdom right there on their screen.

Formative also has a nice tracking feature. You can see how students do on individual activities and track their work over multiple assignments. There is also a standards option where you can link standards to specific questions. Did the student just get lucky and answer something correctly, or do they actually have a handle on the material? Now you can tell by tracking the trending data over time.

track

If this post has sparked your interest and you want to learn more, mosey on over to www.goformative.com. They recently launched a new community page where educators just like you can collaborate, share, learn and grow. If you are a Lebanon City Schools employee and would like some coaching time with me, just shoot me an email and we can get started. As you can see by my amazing video, I am a Formative expert… 😉

Caveat: As you try new tools in your classroom, remember, it is crucial that you include your stakeholders and onboard your students. A quick letter or email home to parents to let them know what tool you are using and why is a great way to head off any concerns. Don’t forget that many of our families learned in traditional school settings and view programs like Formative and EdPuzzle as a negative because they mistakenly believe that you are not teaching and are just having their kids watch videos or work on computers all day. Be sure to explain that you are using these tools in order to give their children a more personalized and targeted learning experience. Students also need to know the purpose of a new tool, as well as an overview of how to actually use it!

Posted in Blended Learning, Teacher Feature

Teacher Feature – Beth Mele and offering students voice and choice in a blended learning environment

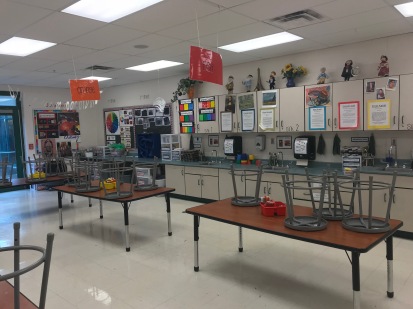
I am a frequent visitor to Bowman Primary School (in Lebanon, Ohio for those of you that aren’t local), and every time I pass by the art room, I find myself stopping just to enjoy a few moments of the scene in front of me. Students are all engaged in their work, awesome products are being created and crafted, and everything is running like a well-oiled machine. Beth Mele, the art teacher at Bowman, has created an impressive blended learning environment for her students by utilizing six classroom iPads and some Google tools. The way she teaches her subject is truly an art and the techniques that she uses can be easily lifted and recreated in any other subject area.

empty art classroom
The Calm Before the Storm!

Blended Learning is an educational pedagogy that combines traditional teacher-led instruction with a digital component that gives students some control over time, place, path or pace. In order to provide an integrated learning experience, what happens in the classroom informs the activities or materials that live in a digital space and vice versa. Some popular methods of blended learning include flipped classrooms and rotation models. (For more on blended learning, visit this resource from the Christensen Institute.)

The big question is, how did an art teacher, who serves – with limited technology – about 200 grade 1-2 students a day create a blended environment for her students? Well, read on to find out!

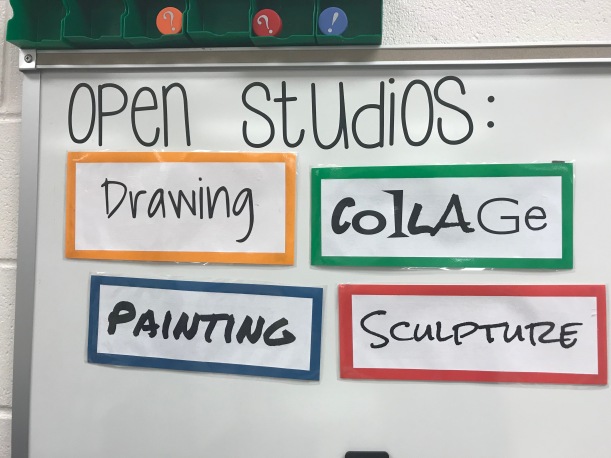
On the morning that I arrived, Beth told me that she had just introduced the students to collage making the day before. She explained that the way she runs her classroom is that she uses the concept of studios. Once she has introduced her students to a specific technique, it now becomes an option for them to choose from to create a project using any of the techniques that they have already learned. By the time I visited in mid-October, she had introduced four different art techniques to her students with plans to begin fiber techniques next week.

picture of studio options: drawing, collage, painting, sculpture
Students can select from any of the open studios during their class time.

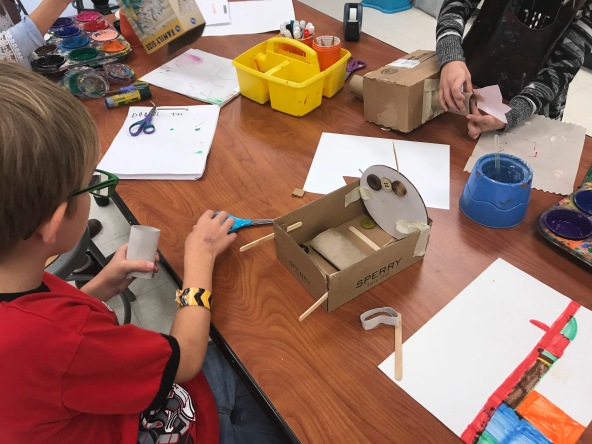
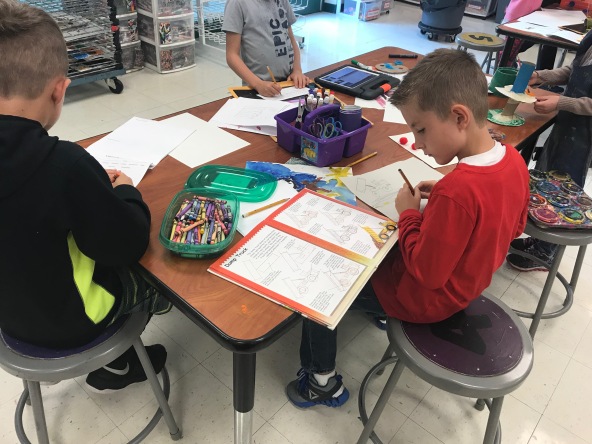
Beth said that she felt a few of the students needed to see the technique again, so she was going to start the day with a mini-lesson review of how to create a collage. Using her document camera, she quickly modeled for the students how to cut and arrange paper to create a scene and then told them to go ahead and get started on a project of their choosing. With zero fuss and surprisingly little chaos, all of the students immediately got to work. The beauty of it all was that each kid was working on a project of their choosing at their own pace! As I circulated around the room, I saw students painting, drawing, sculpting and making collages.

students creating sculpturesstudents drawing

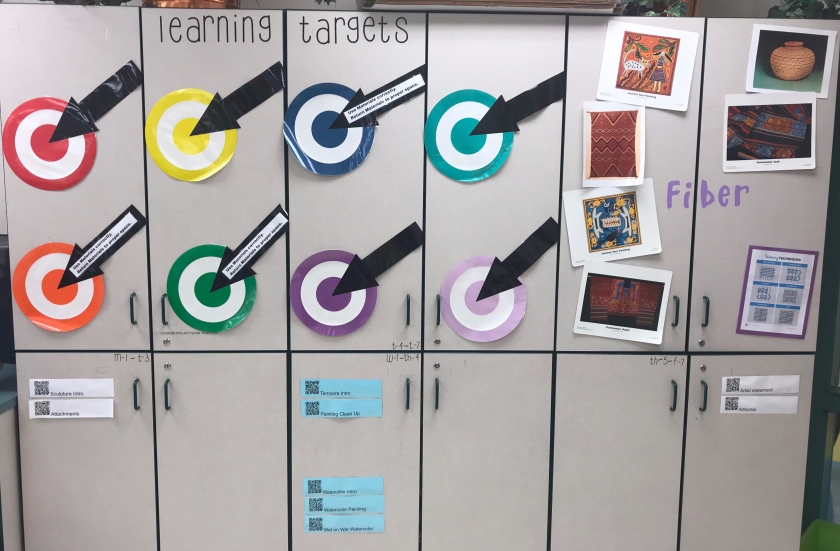
What turns this classroom into a blended one is the way that Beth has created accessibility to skill videos for the students. Scattered around the room are QR codes. When a student needs to learn or revisit a technique, they simply grab one of the six classroom iPads and scan a QR code. It brings them to an instructional video created by Beth. Students have the ability to watch, pause and then rewatch short videos for the chosen skill. This allows them to move at their own pace, and since they can select any of the projects that are listed in the open studios, they are given voice and choice. Beth has created a learning targets wall where the QR codes can be found by all students. One of the most beneficial parts of this is that by creating these instructional videos, she has freed herself to work with students on a more individual basis. Instead of answering the same question over and over again, she can redirect them to the appropriate QR code and free herself to work one-on-one with those students that need it.

bulls eyes and qr codes on a wall.
QR codes can be found aligned with the learning targets for the unit.
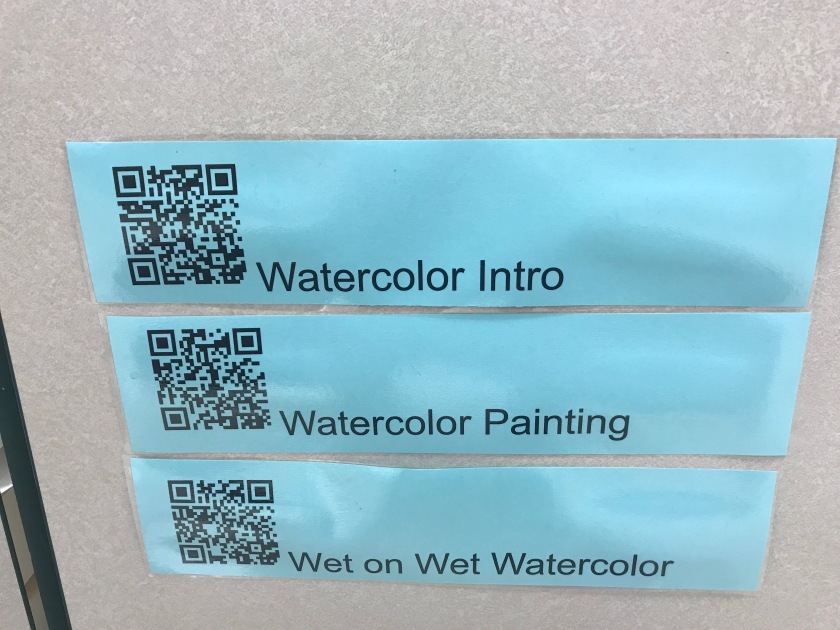
QR Codes for watercolor technique
Students can scan any of these QR codes to watch a tutorial video. Try it yourself!

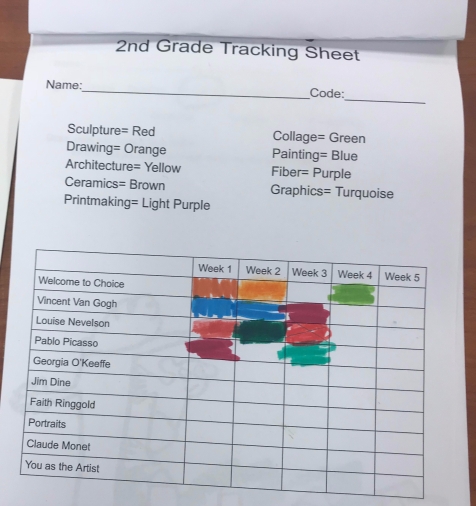
To make sure that students are getting ample practice with each skill, Beth has created a way for the student to chart their progress. Each student has a tracking sheet where they simply color in the cart with the color of the technique that was used. At a glance, Beth is able to quickly see if a student is on track, if they have only focused on one task and need to expand their skill set, or if they aren’t keeping an appropriate pace for learning.

graph showing weeks, artists and technique
Students track their work and practice from each technique

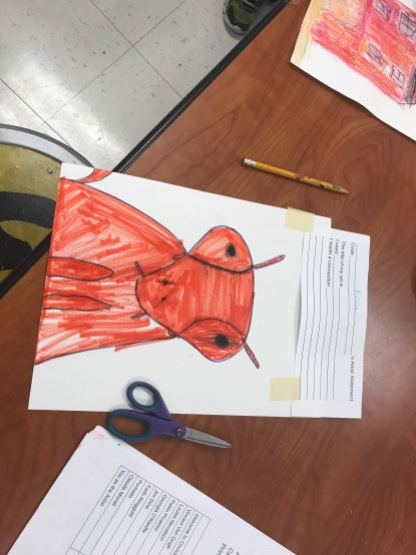
To showcase (or prove) that they have grown and learned each skill, students are required to write an artist’s statement on each completed piece. They are then given the chance to upload their completed work to a website called Artsonia. Artsonia is an online portal where teachers and schools can curate student work in a museum-style setting. By using Artsonia, Beth has given her students a platform or stage to share their work with the world (or just their families…guess I got a little ahead of myself.) Look at this photo story of one of my little friends. He is taking his sculpture to completion, writing his artist’s statement and uploading it to Artsonia for his parents to view.

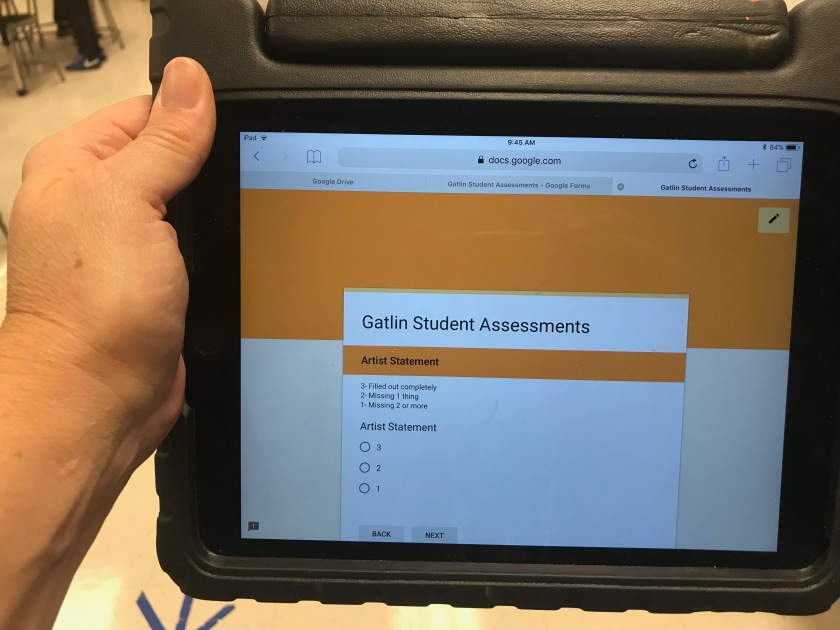
Since Beth sees 200 hundred students a day, she felt that it was important to be able to quickly monitor student work in a digital format. To do this, she has created a Google Form that she uses on her iPad. It allows her to circulate through the room, stopping at random students, and collecting data on how they are doing in her class on any given day. She has even set up her Form so that she can take a picture of their work and upload it through the Form. While this helps make report card time easier, it also helps her make sure she is meeting the needs of each student since she can see her data in spreadsheet view.

Google Form on iPad
Beth is quickly able to spot check and assess student progress.

I cannot stress enough how wonderful my experience in Beth’s art classroom was. She has created a well-oiled machine. Students are able to work on projects that inspire and excite them and by using technology she is freed up to meet her students where they are. She does all this with a document camera and six classroom iPads. Beth uses an iPad to record her videos and then either places them directly on Youtube or right into her Google Drive for easy sharing. Her students know exactly what is expected of them, and she has even figured out a way to make clean-up a breeze. Beth has an old iPod sitting near her desk that she has programmed with musical alarms to go off about 5 minutes before the end of the class period. Students hear that music and they know it is time to clean-up! No more of that frantic rush to put things away once somebody notices that the time has come to an end.

Now, just imagine if you took her techniques and put them in your own classroom? Tricky math problems? Lab instructions? Repeating the same grammar instructions over and over again? Try creating short tutorial videos (or finding them in places like Khan Academy), create a QR code and place it either in your classroom or on their actual papers and see how much more independent they become! Every technique that Beth uses can be something you use in your own classroom. There are even websites like Artsonia that allow students to share their work outside of the four walls of your classroom. (Seesaw and Class Dojo are names you are probably most familiar with.) If you ever get a chance to watch Beth Mele in action, I highly recommend you do. Her classroom feels like a magical place and the kids don’t even realize they are learning!