In this week’s dose of edtech awesomeness you will find:Super Screencastify keyboard shortcuts to make recording a snap! Google versions of the templates used for the Spotlight on Strategies activities available in Discovery Ed. A cool interactive map that shows lets students play with data points in relation to country size and population.
I love Screencastify. It is one of my most favorite edtech tools ever. I started using it a few years ago before it had a built in editor and just got accustomed to either living with mistakes or redoing my video a gabillion times until it was perfect. Never did I dream of one day not only being able to make simple edits to my video, but also of being able to combine multiple video clips, zoom in to highlight important concepts or add text. Now that I have access to the awesomeness of the Screencastify editor, my videos have gone from awesome to magical and I truly feel like a Screencastify Magician!
With the Screencastify editor you can:
trim a video
cut out parts of a video to be deleted or rearranged.
add multiple video clips from any source to your video.
add text to video clips
crop part of what can be seen on the video screen
zoom in to a video clip to highlight specific parts of your screen
In addition to features available in the editor, there are some special features that you have access to from the video page that pops up after you finish recording. On this page you can:
create an animated gif
download just the audio from your video
generate a QR code for your video
share your video directly to Google Classroom or upload it to Youtube
Check out this guide I created to see all of the awesomeness Screencastify has brought to your fingertips.
Before we get very far into the editor, probably the most important thing you need to know is how to undo or redo an action. If you accidentally deleted something or moved a clip to the wrong place, you are going to want to know how to fix it! Click here to see how.
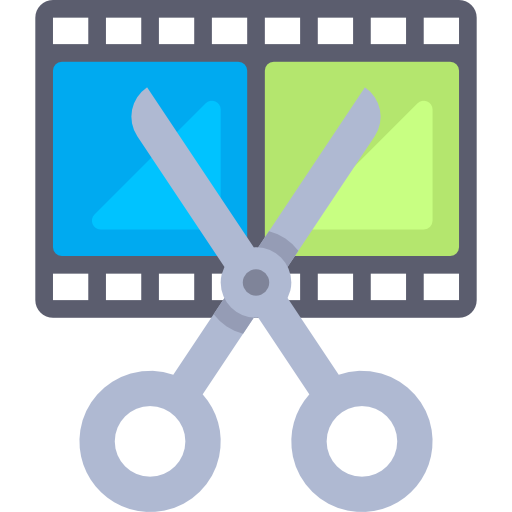
Cut and Rearrange Clips
You can use this editing feature if you need to trim off the beginning of a video, get rid of dead space at the end of the video, or cut out a chunk from the middle of the video. Once the clip has been cut, you can delete it or drag it to a new section in the video timeline. Click here to see how.
Add/ Remove Video Clips
The Screencastify editor allows you to remove unwanted video clips, but it also allows you to add additional videos from any source, as long as they are in your Google Drive or on your computer. Once the clips are added, you can edit them and then place them anywhere on the timeline that you need. Click here to see how.
Add Text to a Clip
Sometimes you want to add a title, clarify a point, or give some additional information. Use the text feature to add short sentences or content to your video. A really nice addition to this feature is the ability to elongate the clip where the text is to give your viewers time to read your text content. Click here to see how.
Crop a Clip
Do you have too much dead space around an important image in your video? Is the background behind you or your topic distracting? You can use the crop feature to get rid of dead space and bring important material into focus for your audience. Click here to see how.
Zoom Into a Clip
You can add a zoom effect to your video. This zoom effect is great when you are trying to give more detail or really focus in on a part of your screen. You can also use this zoom effect if you are trying to show part of your screen while also protecting sensitive information that is elsewhere on your screen. Click here to see how.
Save an Edited Video
Once you have opened a video in the editor, you must save a new copy of it. You can either save the edited video directly to your Google Drive or you can download it as an MP4. Click here to see how.
Export Audio (MP3) Only
If you need an audio clip for a project, as part of an adaptation to an assignment, or to place into a Google Slide, then you will want to use the Export Audio feature in Screencastify. Click here to see how.
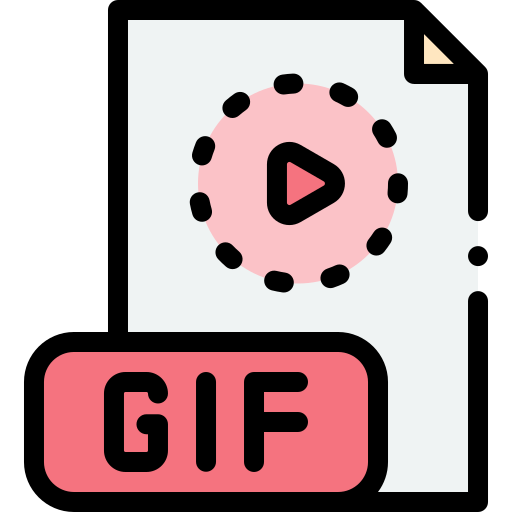
Create and Export an Animated GIF
If you ever need to create a short, visual how-to that doesn’t really need to be a video, consider using Screencastify to create an animated GIF. A GIF is a moving image. It can be funny or it can be educational. You can record a short sequence using Screencastify and then download that sequence as a repeating moving image (GIF). Click here to see how. Click here to see suggestions for when you might want to use a GIF. FYI: Unlike the audio file, if you download an animated GIF, it does not automatically upload to your Drive. You will need to manually do this once you have downloaded the GIF.
Create a QR Code For Your Video
If you are creating an activity that will happen outside of a computer but you want to include a video component, consider creating and printing out a QR code for your video. You can then take your QR code and post it somewhere like a poster, a wall, your whiteboard, or on a piece of paper. Parents and students can then use the camera on their phone to scan the QR code to view your video. Click here to see how. Remember, if you are going to do this, make sure the share settings on your video are set to unlisted on the video screen of Screencastify or as “anyone with the link can view” in your Google Drive.
I think the editor features of Screencastify makes this a useful tool for any teacher or student. If you would like to grab a Google Doc copy of this guide to share with students (or other teachers, click here.